How to Change Brake Pads
After driving miles and miles around the Stratham, Portsmouth, and Exeter areas, your brakes pads may become worn down. Don’t worry—this is completely normal! However, it does mean that it’s time to replace your brake pads as soon as possible.
Although this process requires a few tools and some car expertise, you can do it right at home if need be. Thus, our experts at BMW of Stratham are here to show you how to change your brake pads. Below, you will find more in-depth information on how to change brake pads in your vehicle so that you can be safe on the roads. Skip to scheduling you service appointment online right here.
How to Change Your Brakes in 5 Steps
 Before you get started, make sure you have the following tools and maybe a friend to help you out:
- Floor jack
- Jack stands
- Brake tool
- New brake pads
- Brake grease
- Socket wrench
- Tire iron
Once you have all this, follow the steps below, and you’ll have new brake pads in no time.
Step 1: Jack Up Your Vehicle
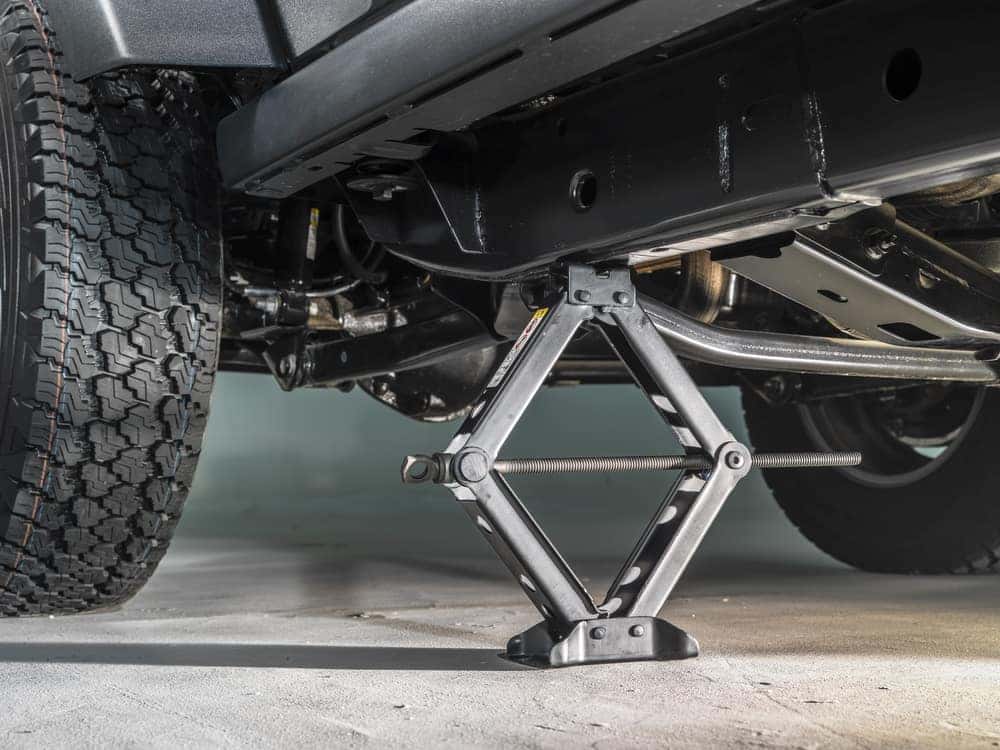 In order to reach where your brake pads are located, you’ll need to remove your tires. To do this, loosen the lug nuts on your wheels with the tire iron, then place the jack under your vehicle to raise it. Next, take your jack stands and place them beneath a solid point in your frame, lower your vehicle to sit on them safely, then remove the jack.
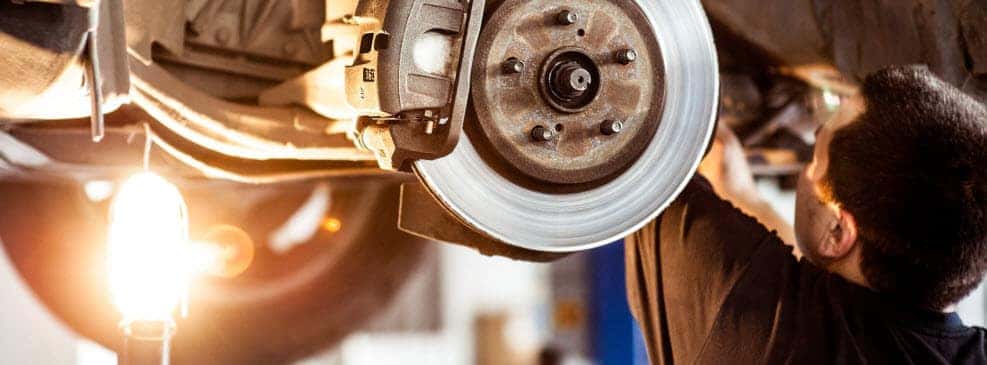
Step 2: Remove the Old Brake Pads
When your tires are gone, you’ll be able to see your brake rotors, calipers, and pads. Since the calipers act as a clamp on your pads, you’ll need to remove them to reach the part you want to replace.
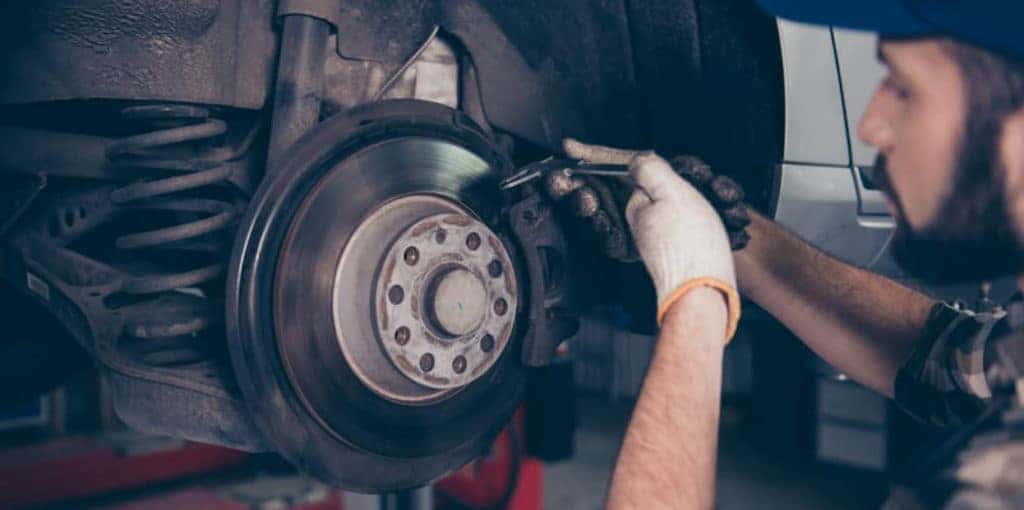
Use your socket wrench to remove the caliper bolts, then slide the caliper off the assembly. These will still be attached, so make sure to set them flat and don’t hang them by the brake lines. Then, you can remove the pads from your brakes along with any old clips you no longer need.
Step 3: Install the New Brake Pads
Before you put in your new pads, you’ll need to grease them up using your brake grease. Apply it only to the backs of the pads; be careful not to get any on the front of the pads or on your rotors, as they rely on friction to work.
Next, take the brake pads and place them in the spot where you took out the old ones. Clip them in place, making sure they’re straight and positioned properly.
Step 4: Replace Your Calipers
 With your new pads in place, it’s time to reinstall your brake caliper assembly. Keep in mind that because this component has adjusted to fit your previous, more worn-down brake pads, you’ll need to resize it to accommodate the new ones using your brake tool.
Do this by placing the caliper in the large circular piston, then placing your tool’s plastic piece against the opposite side of the system. Rotate your brake tool handle to adjust the size until it’s fully retracted, then size them accordingly to fit the new pads.
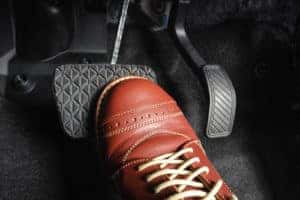
Step 5: Take a Test Drive
After replacing your tires and lowering your car, it’s time to check out your new brake pads in action. Slowly take your car for a spin around the block to see if they’re working properly. If you hear any scraping sounds, check the installation again to ensure that everything is properly and securely in place.
Skip the Work: Schedule a Brake Pad Replacement Today!
If you don’t have the right tools, still have questions about how to properly install brake pads, or just want someone else to do the job for you, our dealership is here for you! To make an appointment to change your brake pads in the Stratham, Portsmouth, and Exeter areas, reach out to us today.